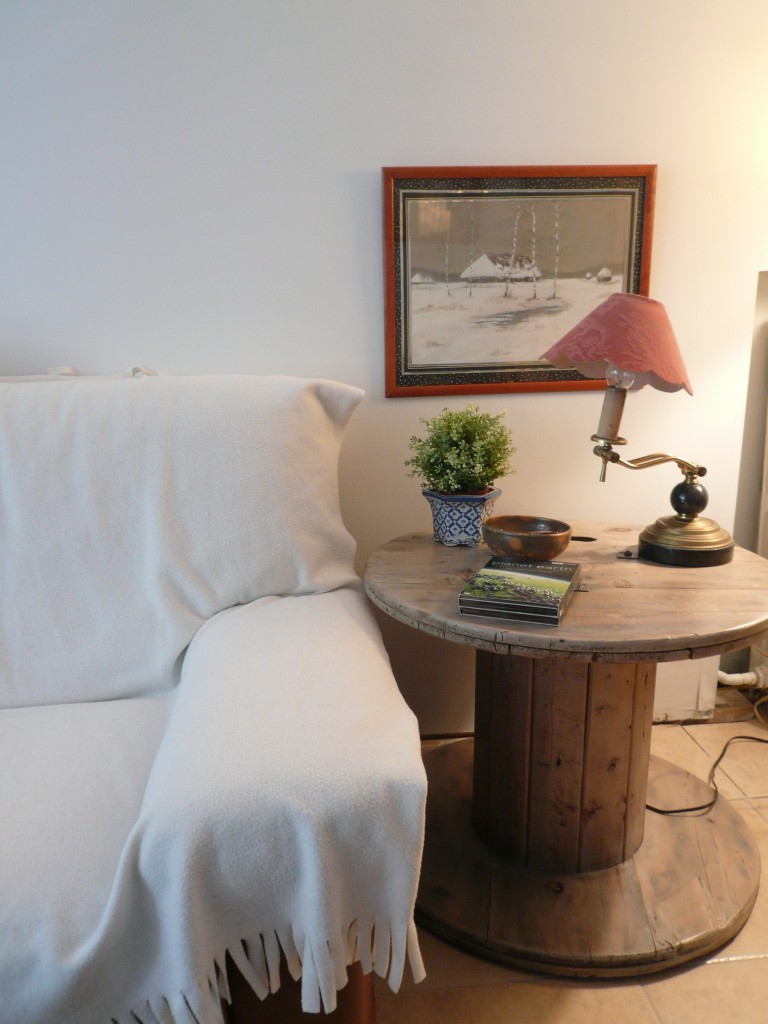
Discarded furniture is often tempting to collect with a view to offer it a second life. However, one can quickly accumulate enough broken, comatose, moribund pieces to open a furniture hospital or grave yard.
You should brake for these abandoned patients, but refrain from picking them all up! Some are not worth your time, and others are too far along in their path to decomposition. As heart-breaking as it is to pass up on free furniture, you must become firmly selective and keep an eye out only for the true treasures in disguise that deserve an unexpected rescue.
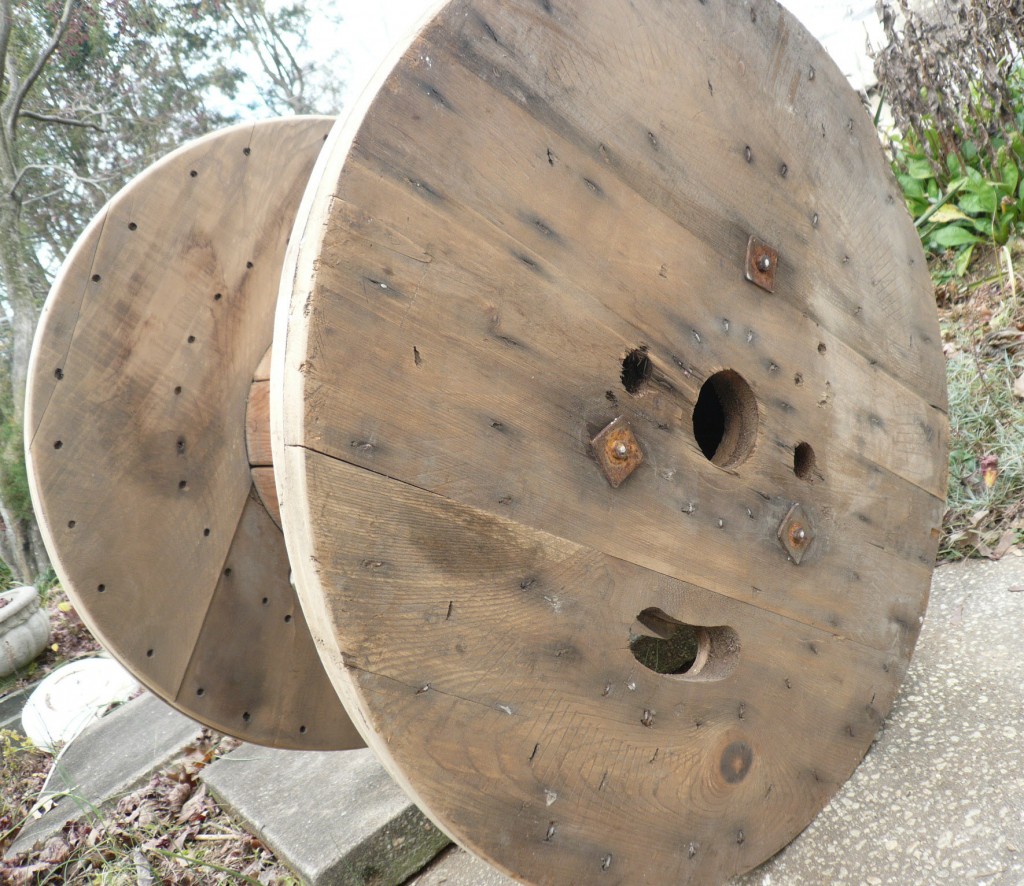
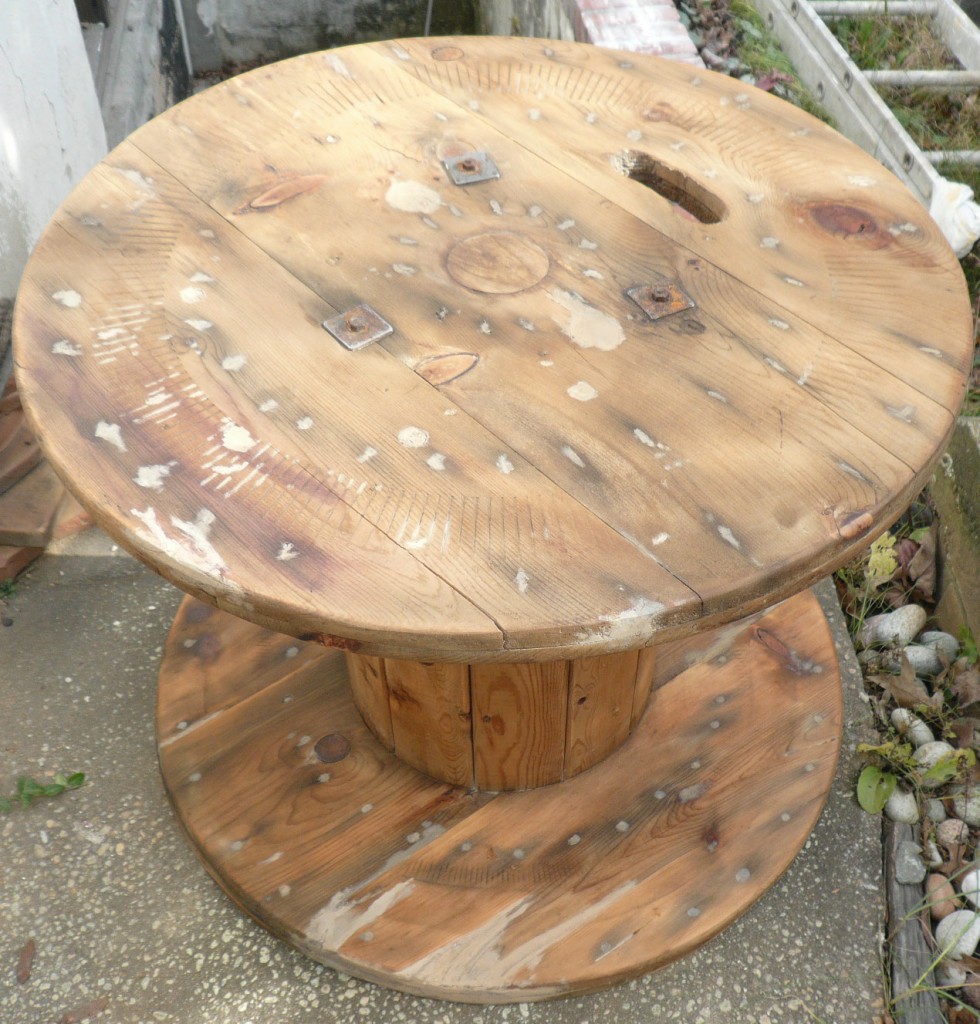
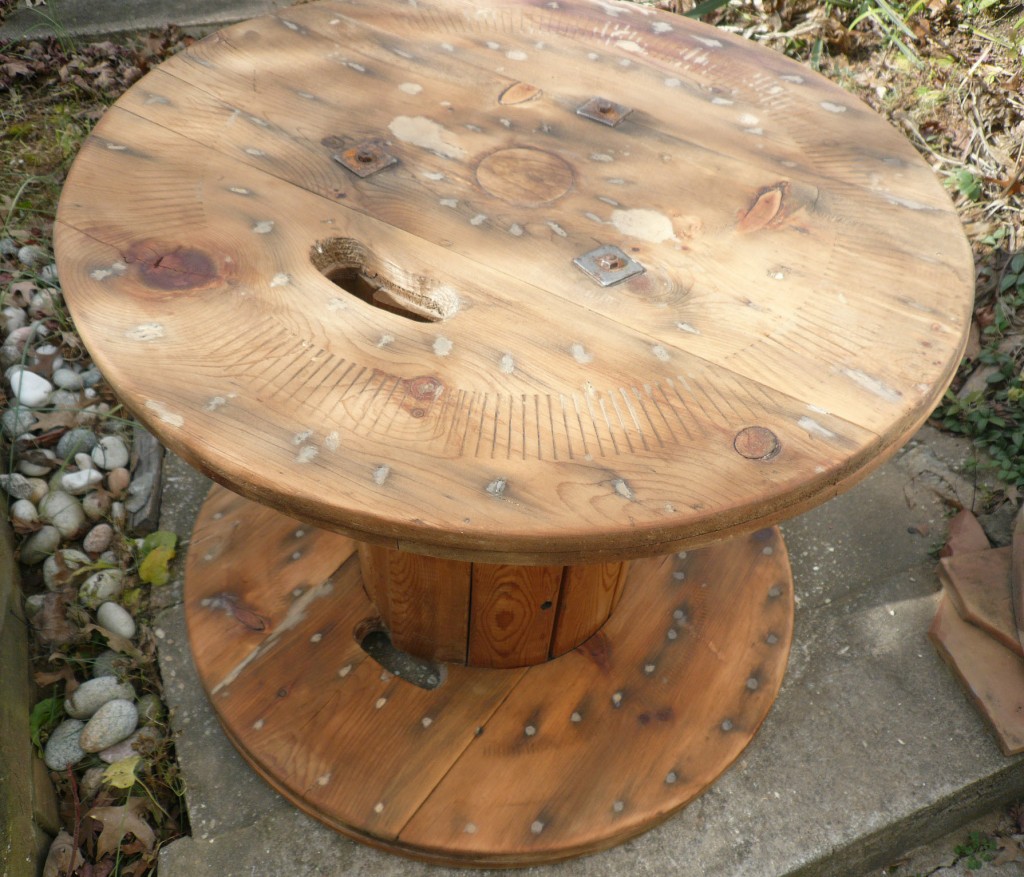
This is how I spotted an old wooden cable bobbin by a dumpster. I thought to myself: “What a shame to reject such a nicely made spool!”. My windfall was neither an artistic nor a valuable piece; nevertheless, I envisioned an original side table showing a patina and a character of its own, in my informal sun-room.
The workmanship and the cleverness of this functional object would be salvaged and given a second life. However, before getting carried away with my ideas, I needed to evaluate whether it was reasonable to complete the repair given the short amount of time I had available. I found that the object’s repair could be done in three relatively painless steps:
- Sand the entire surface, fill the small holes and cracks with wood putty, and close the larger holes with wood plugs;
- Paint the filled spots to hide the white putty;
- Stain and varnish the entire surface.
From there, I hoisted the bobbin into my car, taking the worms and slugs that had made it their dwelling along for the ride.
The Repair Process
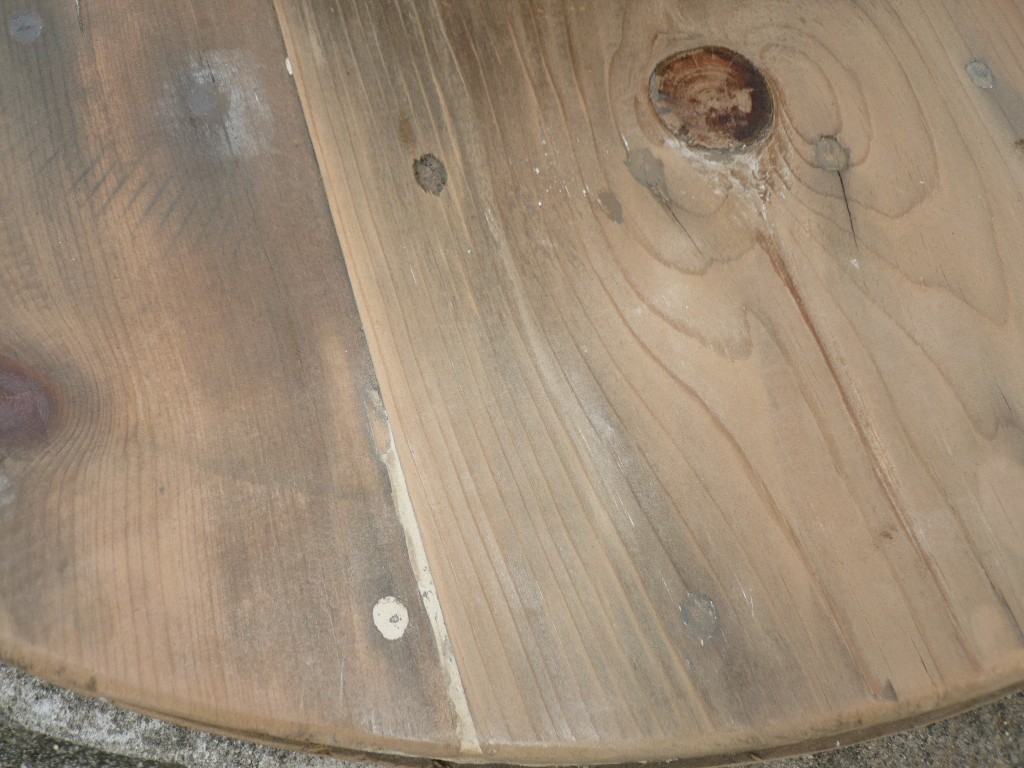
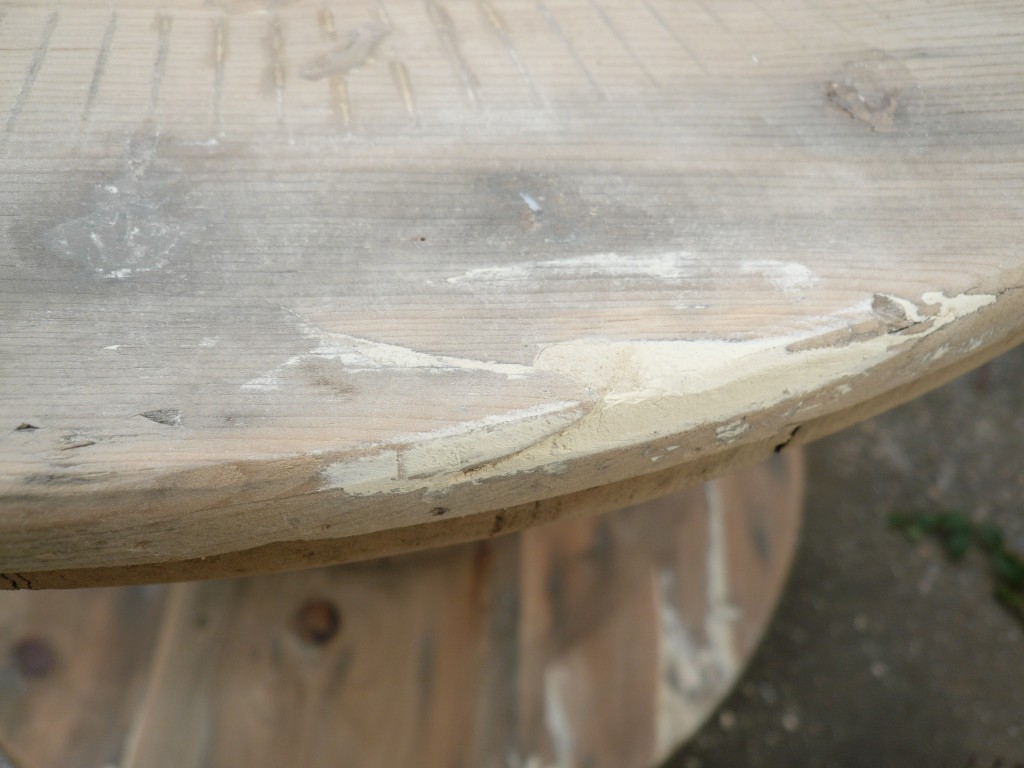
My first task was to sand the surface, but before I could do so, I needed to hammer down every nail and staple. Once sanded, I inserted putty fillings into the noticeable crevices and holes of the boards.
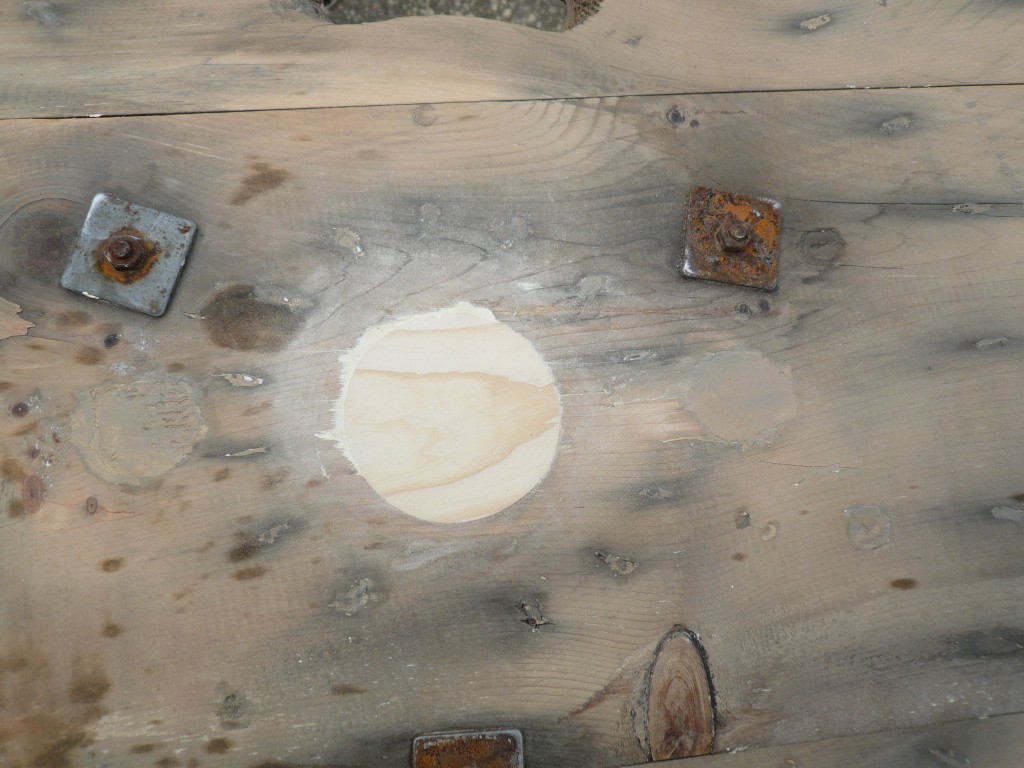
I glued pine plugs inside the larger holes and filled their contour with wood putty. Another sanding round removed the excess of putty.
In order to eliminate the white marks of the putty, I painstakingly touched up each filled spot with an artist acrylic paint mimicking the shade of the neighboring wood color; it ranged from creamy white to grey brown. The large wood plugs were stained with a wood stain to let the grain design show through, and again, I tried to reproduce as faithfully as possible the adjacent wood color.
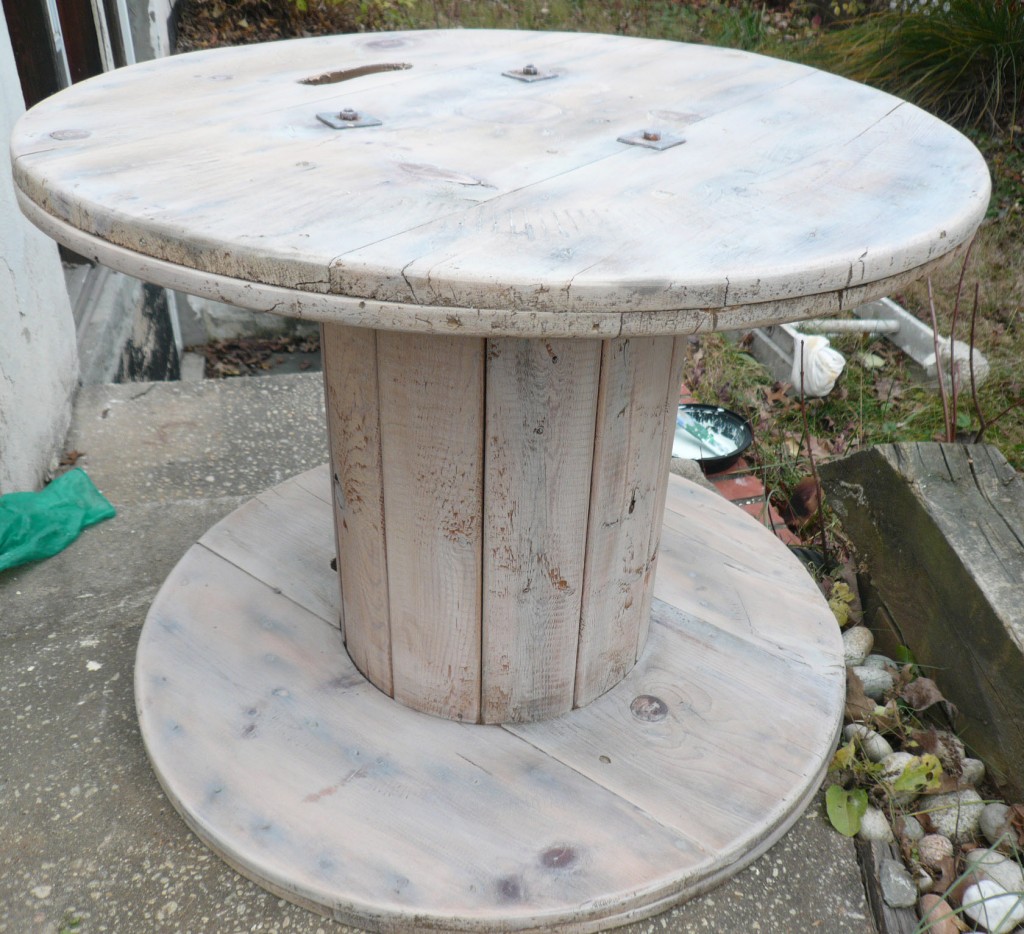
The easiest task remained: staining the entire surface with diluted latex off-white paint. I did not use oil-based paint in order to avoid an inexorable yellowing of the tint. I had in mind a milky grayish/café-au-lait color, totally sheer to let the pine knots, the irregularities of the wood, its grain design, and its age show through the finish. Once my very liquid mix was ready, I rubbed it firmly into the pores and openings of the wood. In some areas, I repeated the application of the mix, especially in the spots that had marred the top of the table.
I waited overnight before coating the table with a flat acrylic finish that is invisible, yet protective and non-yellowing. Three coats of it were applied.
The bobbin serves a new function now, and because of its shape and first destination, it is reminiscent of the Russian constructivism period!


