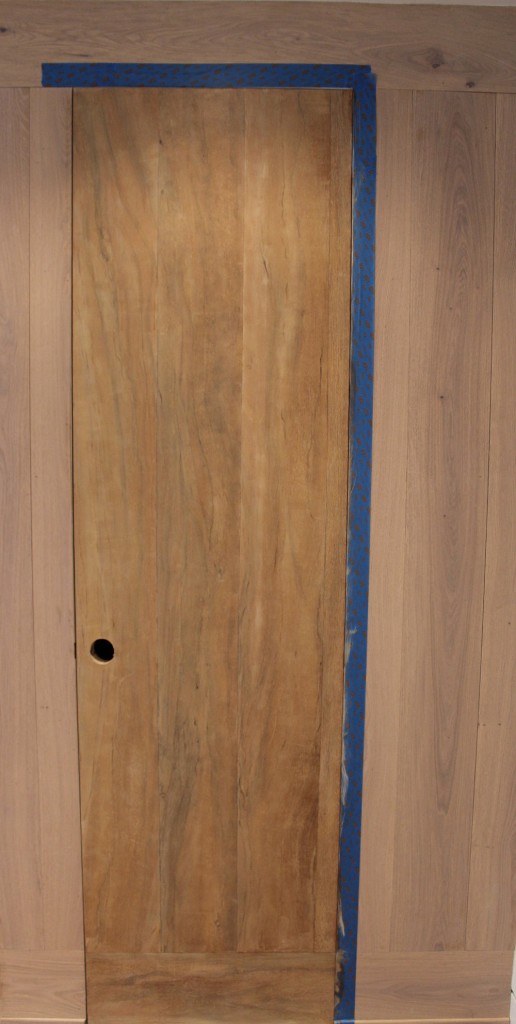
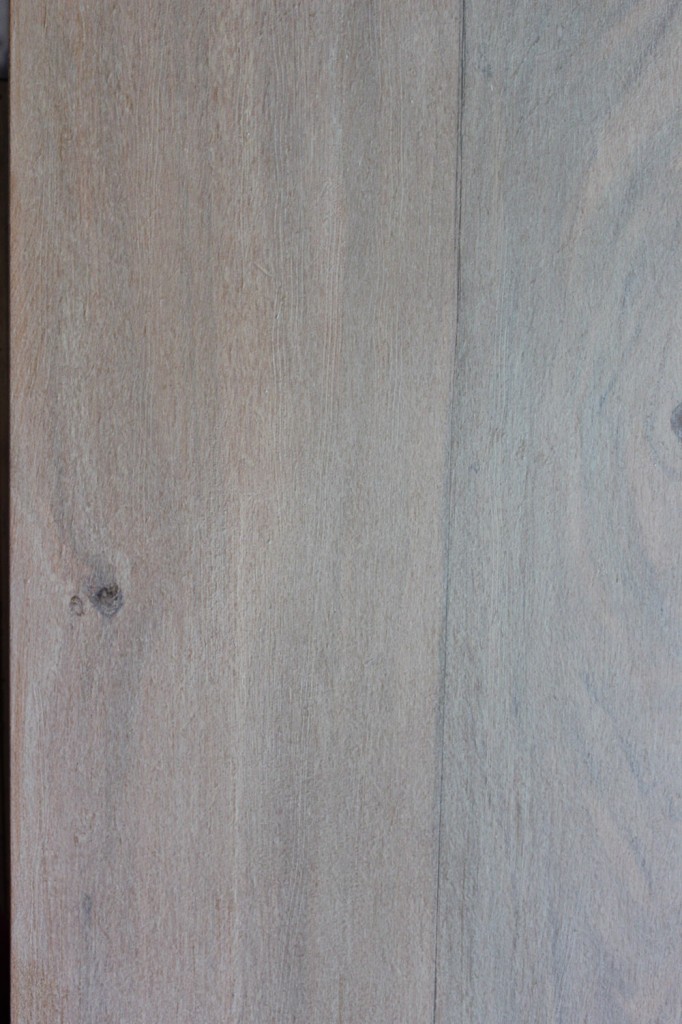
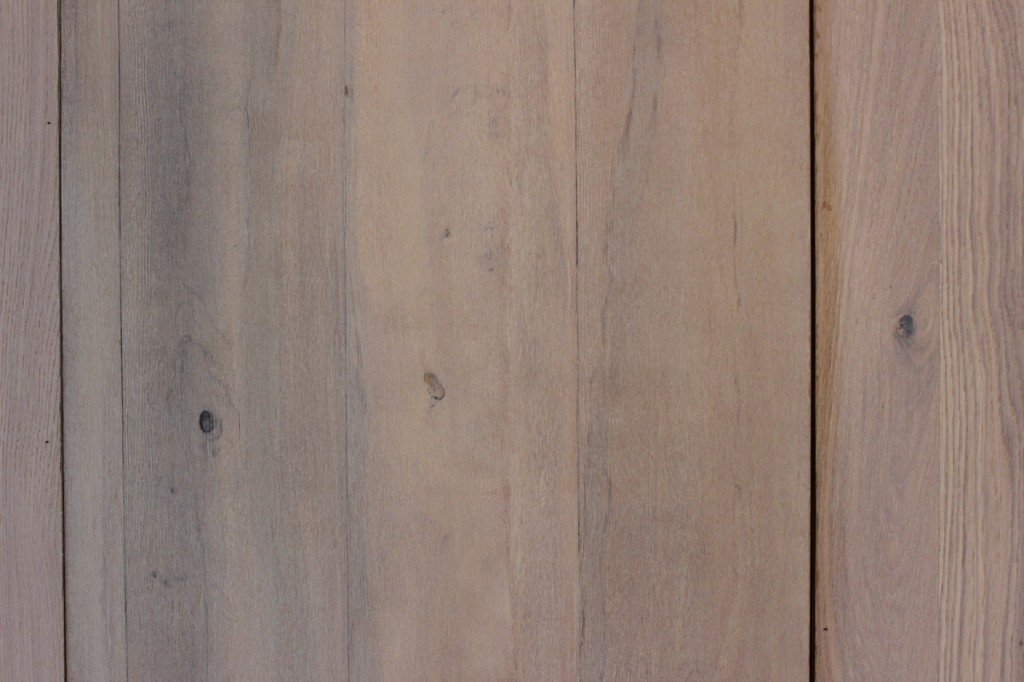
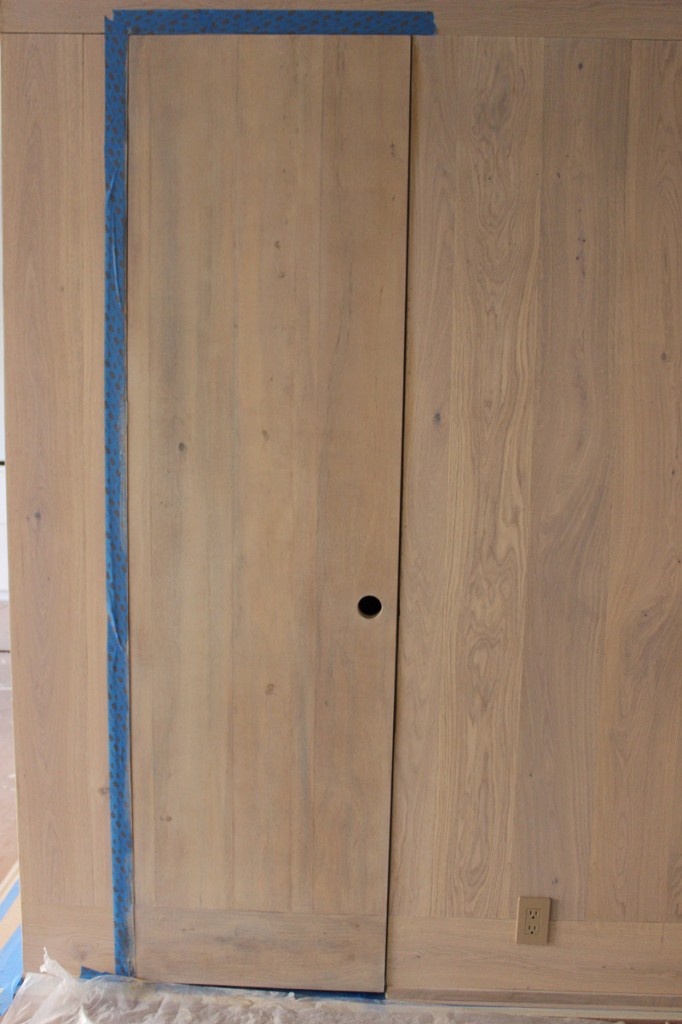
If you want to realistically imitate a wood essence, you need to have several samples of it at hand and to study them in depth. First, observe the different hues of the particular wood, then its pores, its veins, and its wood grain. Note that, depending on the wood cut, the same tree may yield different patterns and colors. Similarly, the pests or diseases that may have infested the tree also contribute to the wood’s distinctive look.
I will attempt here to describe in a few steps how to imitate a pickled European white oak. Pickled means that an off white or white wash was rubbed onto the wood pores to lighten the overall color. This makes the pores more visible.
To complete this faux oak wood imitation, you will need the following tools: one large 4″ or 5″ brush and several smaller ones, one fine artist brush, a badger, a flogger, assorted metallic combs, a metallic roller, and a foam roller. You will also use rags, various containers, sand paper, and a plumb line.
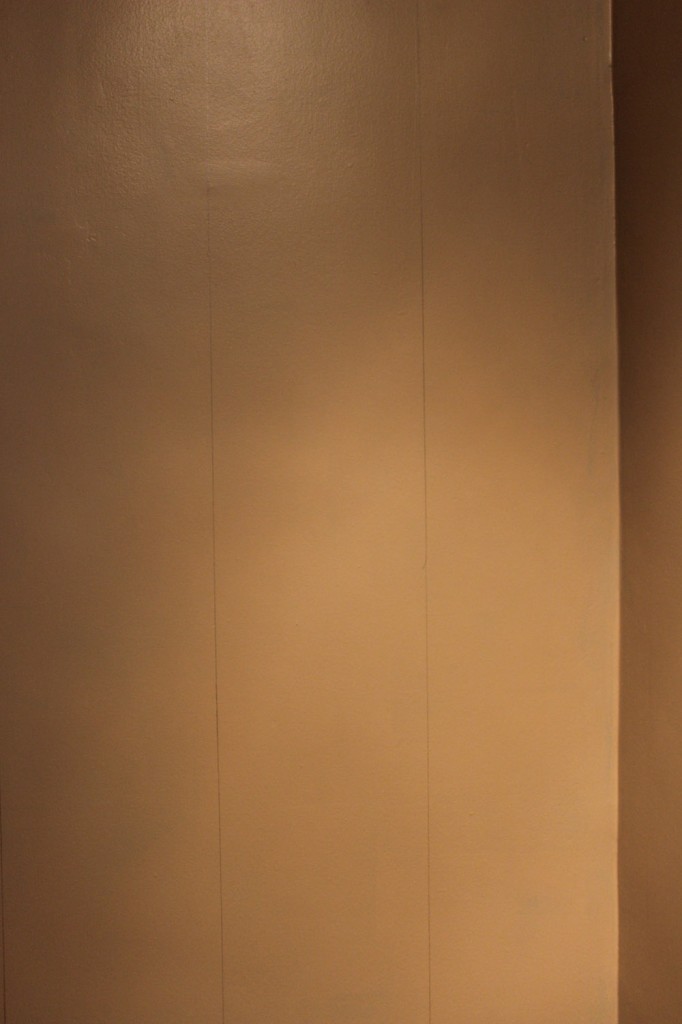
- On a very smooth and impeccably flat surface, apply two coats of a light pinkish “cafe au lait” base coat using latex or oil-based paint. Sand it lightly. If you wish to simulate a plank pattern — where it appears as the walls were paneled by successive wooden boards, this is the moment to trace the outline of each plank with a pencil.
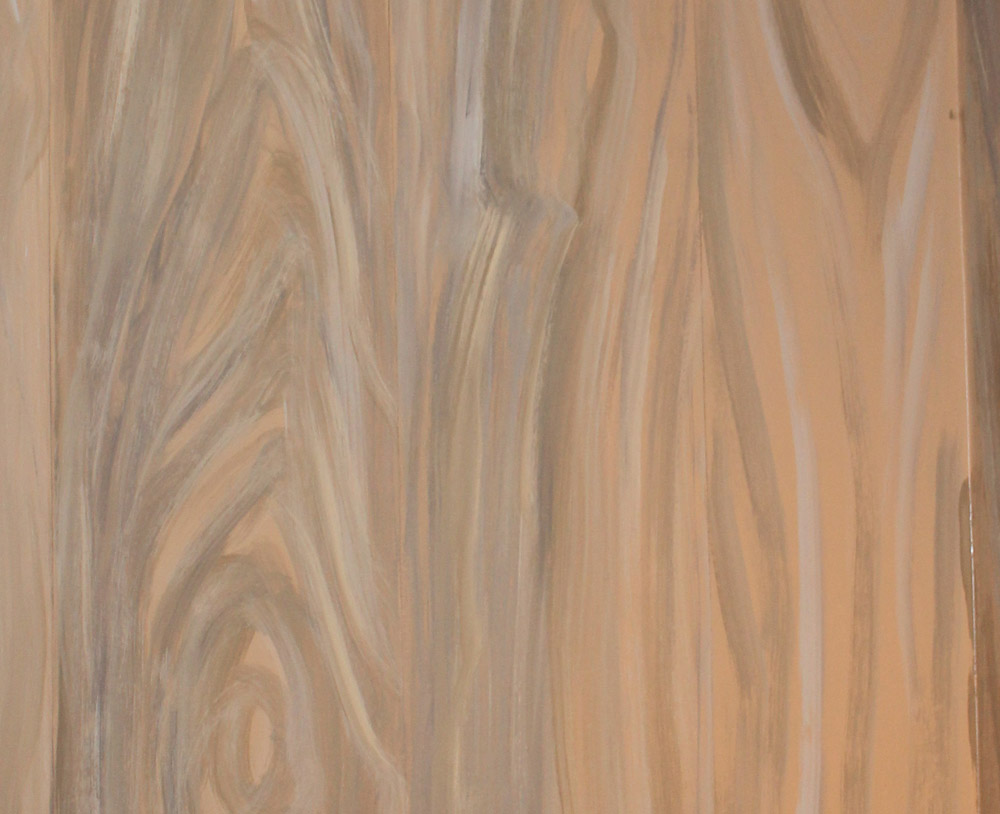
- Draw the figures of the wood grain using washes of various colors: pale grey blue, peach, creamy yellow, medium grey, and medium chestnut brown. If you have elected to create a board pattern, try to subtly differentiate each board using different colors or drawings. For instance, you may accentuate colors or patterns alongside their borders. Wait several hours for the latex paint to dry or one night for the oil-based paint.
- Apply a medium chestnut brown glaze with a large brush. It must not be runny at all. I use an oil-based glaze for this finish to gain more open time to work the surface. Flog the entire surface. You need to prepare ahead of time a little mixture of reddish brown artist oil mixed with glaze or turpentine. Prepare the same in steel grey. The mixes should be creamy. With a fine artist brush, go over some of the wood grain designs using one or both mixtures to accentuate knots, circles, and veins. Afterwards, badger and flog your lines. The lines must remain discreet compared to the surrounding colors. Once you are satisfied with your work, pass a metallic roller over it and comb it with the narrow teeth steel comb. Proceed very gently: your wood imitation has to be soft and subtle, not caricatural, unless you are trying for the country rustic wood graining look. Wait one day before starting the next step.
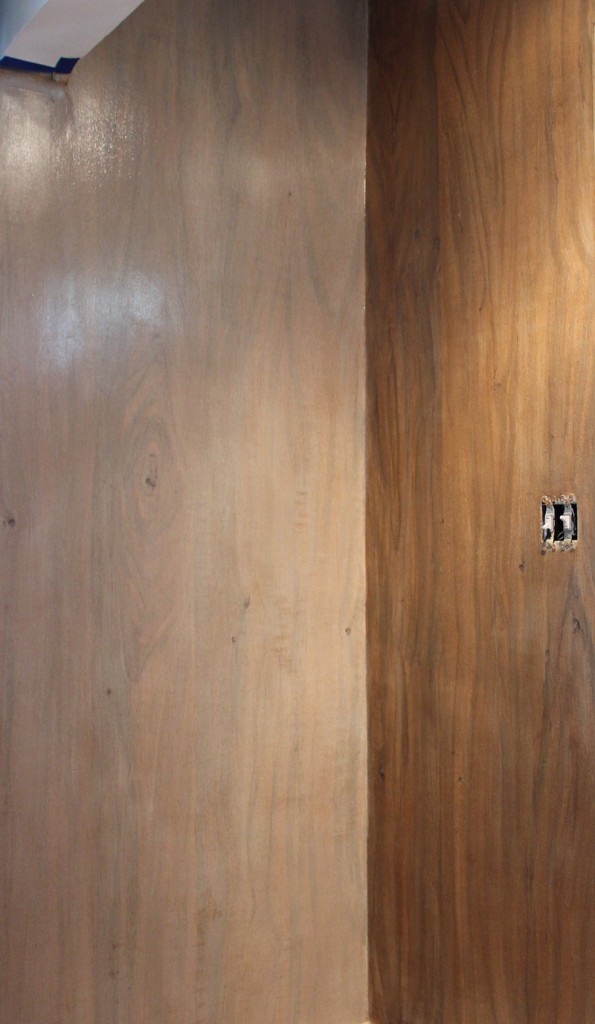
- Prepare a vanilla color oil glaze and apply it with the large brush on the surface. Flog it carefully, going back on the spots that were not finely flogged. With a thin rag, remove some of the glaze inside the knots, to give them more depth. They should look neat, not blurred. Lighten some areas if your sample shows more defaults or lights. Your work must be delicate. Comb again the entire surface, barely pressing on the comb. You should not have a clear striation pattern. The overall effect should reminisce of a short hair fur, in the light grey/hazelnut hues. Let dry the surface one more day before the finishing touch.
- If you have laid a board pattern, you may want to accentuate or widen the separation lines one last time with a pencil. Equally, it may be necessary to go over the knots that may have slightly disappeared under the last whitish glaze. In this case, only the edges of the knots have to be underlined. Your pencil line must remain natural. Once you are satisfied with your production, you may wish to varnish the faux wood for two reasons: to protect it if it is located in a busy area, and to give it a flat sheen. Similar to drift wood, pickled oak has no sheen. The glaze however leaves a shiny sheen, whether it is oil or water based.
That’s it! Now, you can enjoy a beautiful wood interior without depleting the earth of its resources!


