Tortoise shell finishes are one of the most difficult faux finishes to execute. In this post, I will explain the process step by step, and hopefully provide enough guidance for you to get started on your own imitations.
For centuries, the rich and mysterious colors of the tortoise shell have lent themselves to a multitude of imitations.
The shell of the tortoise comes naturally unappealing. Depending on the tortoise’s geographic origin, its shell can be characterized by blotches of dark nuances bathed in a green, brown, or sometimes almost black background. Only a special treatment (i.e., chemical treatment) of the shell reveals its beautiful stripy pattern and tints. To accentuate these traits, shells on furniture were often inlaid over sheets of gold, silver, or other bright colors.
Historically, tortoise shells were not a common staple, and unless purchased as antiques, tortoise shells today are not available for sale legally. However, their sumptuous designs can be made available through imitation. In the world of decoration, we traditionally come across two colors of tortoise shell: yellow and red. Spectacular examples of the red ones appeared during the Renaissance period in Europe and in the Far East, on frames and furniture.
This being said, overlay tortoise shell can appear with much serendipity in various hues, ranging from turquoise to carmine. As long as the effects of transparency, depth and flecked pattern are reached, it remains extremely decorative. Its most common applications are seen on: boxes, frames, mirrors, and furniture (vignettes). On walls, large squares of it bring a luxurious look, and can be equally fitting in a modern or classic interior. I once divided a ceiling into 40″ dark turquoise and black tortoise shell squares, and finished the surface with a high gloss varnish. The result was splendid, and fun.
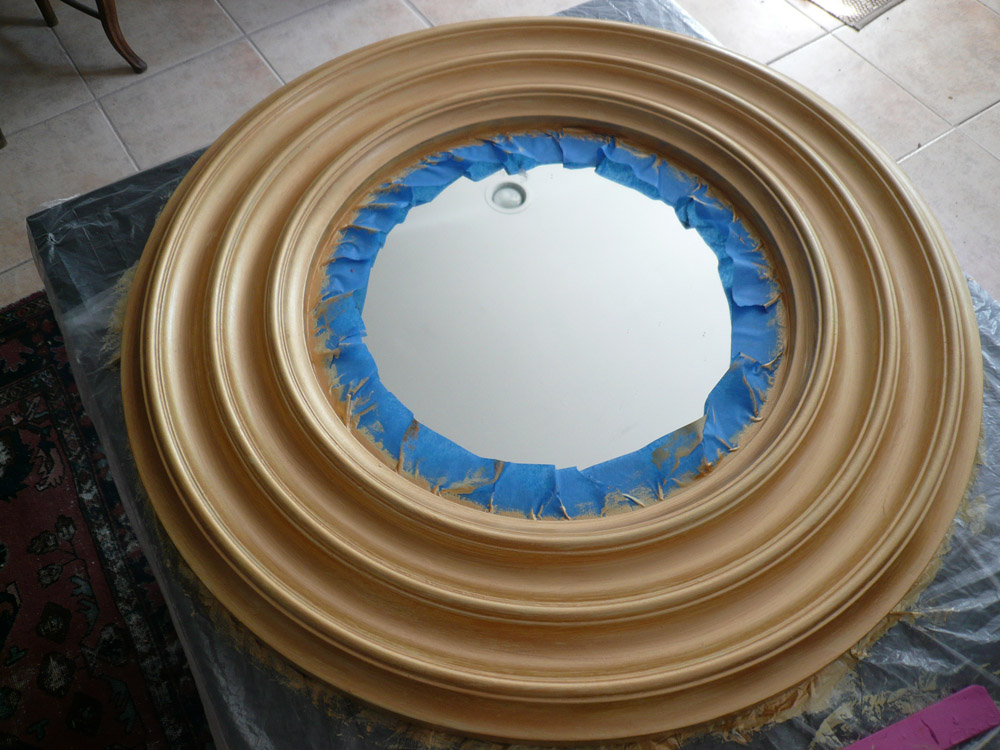
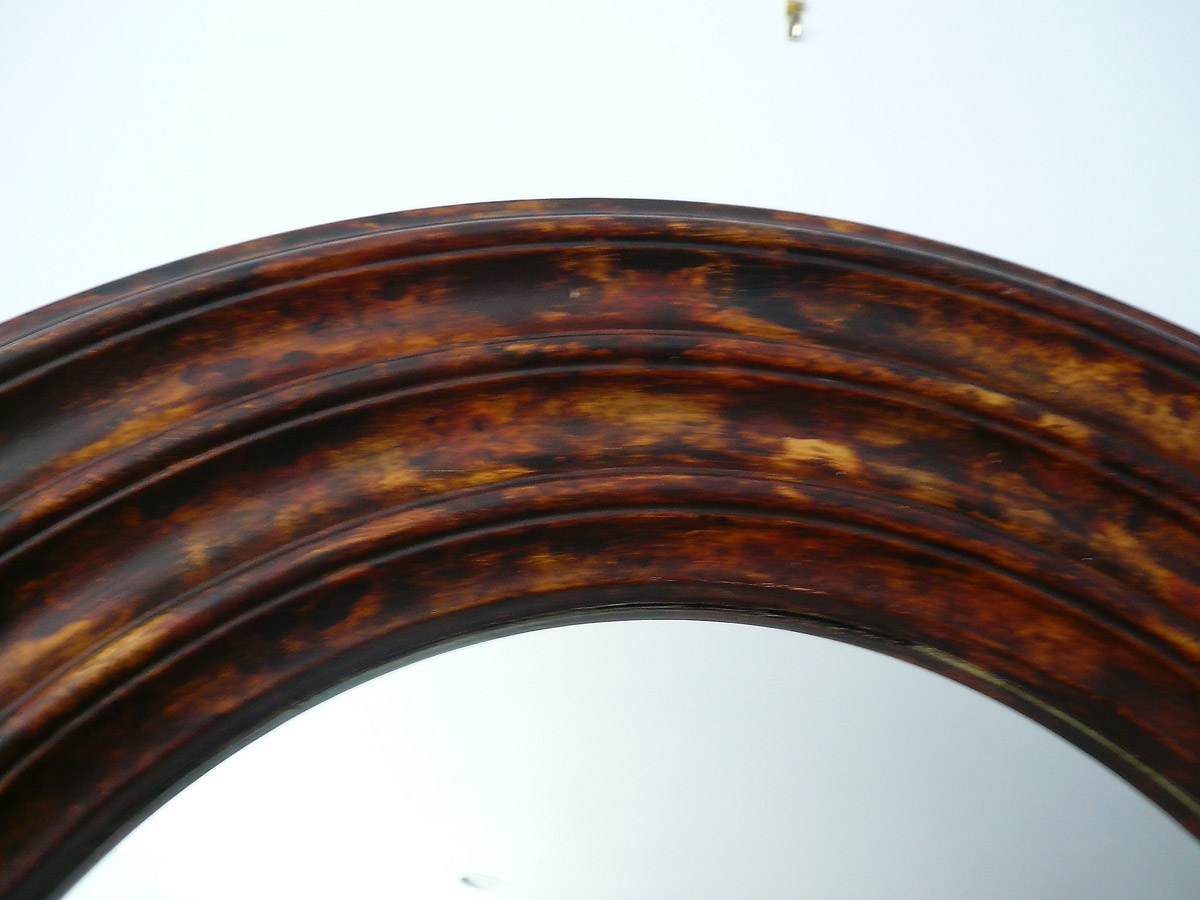
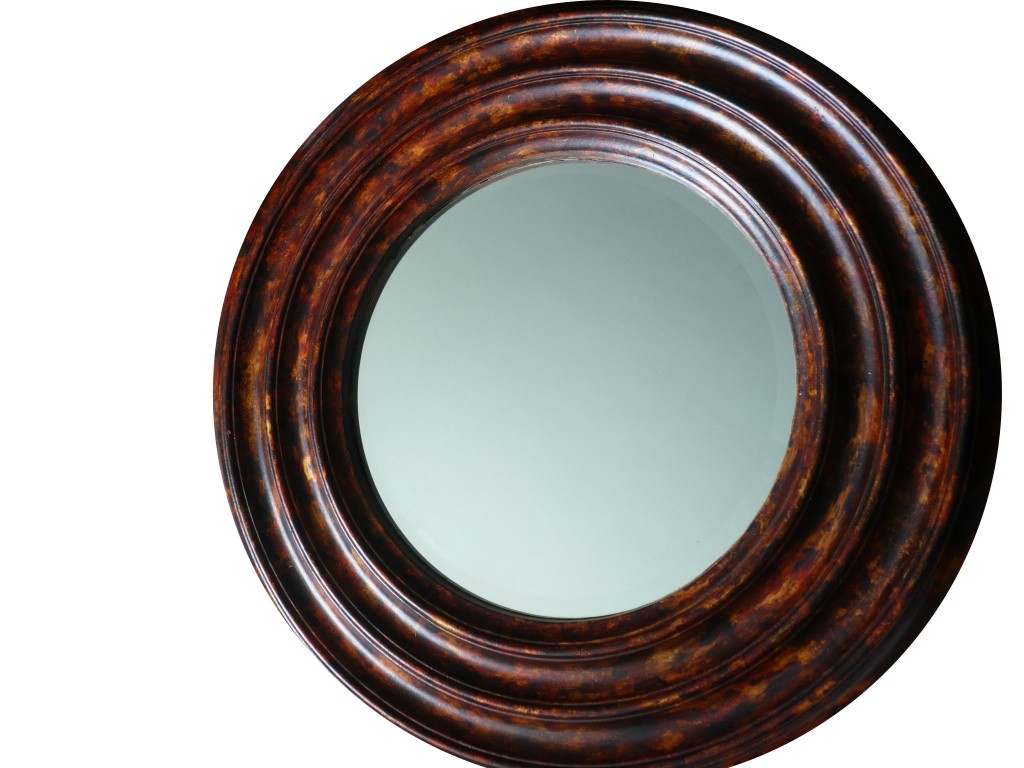
Underneath are the basic steps for achieving a yellow tortoise shell pattern. In my project, I used oil-based glaze and fine artist oil paints. It is best to work along with an original piece of tortoise shell, or an excellent reproduction as a guide. I prefer the oil to the acrylic medium for this type of finish. My surface was a small 24″ round mirror frame.
- The surface of your project must be perfectly clean, smooth and flawless. If it is a raw wood, it must be gessoed and sanded. Paint the surface with a latex or oil-based bright yellow, similar to a buttercup. You may have to lay several coats if the base is dark. Lightly sand each coat or rub it with steel wool. Add one more coat of bright gold metallic paint (“Olympic gold” if you use the MM (Modern Masters) brand), or apply a mixture of metallic gold with latex yellow paint.
- Depending on the size of your project, you may want to divide the space into small squares or rectangles of 3, 5 or 12 inches. Given the size of a tortoise, small pieces of shells are easier to work on at a time and are more credible. This would also allow you to vary the patterns or sizes of the spots more easily. On my frame, the ridges made it difficult for me to divide the surface. Nonetheless, it could have opened another design avenue. Moreover, I would not recommend this faux technique over curved surfaces: it is feasible but very challenging!
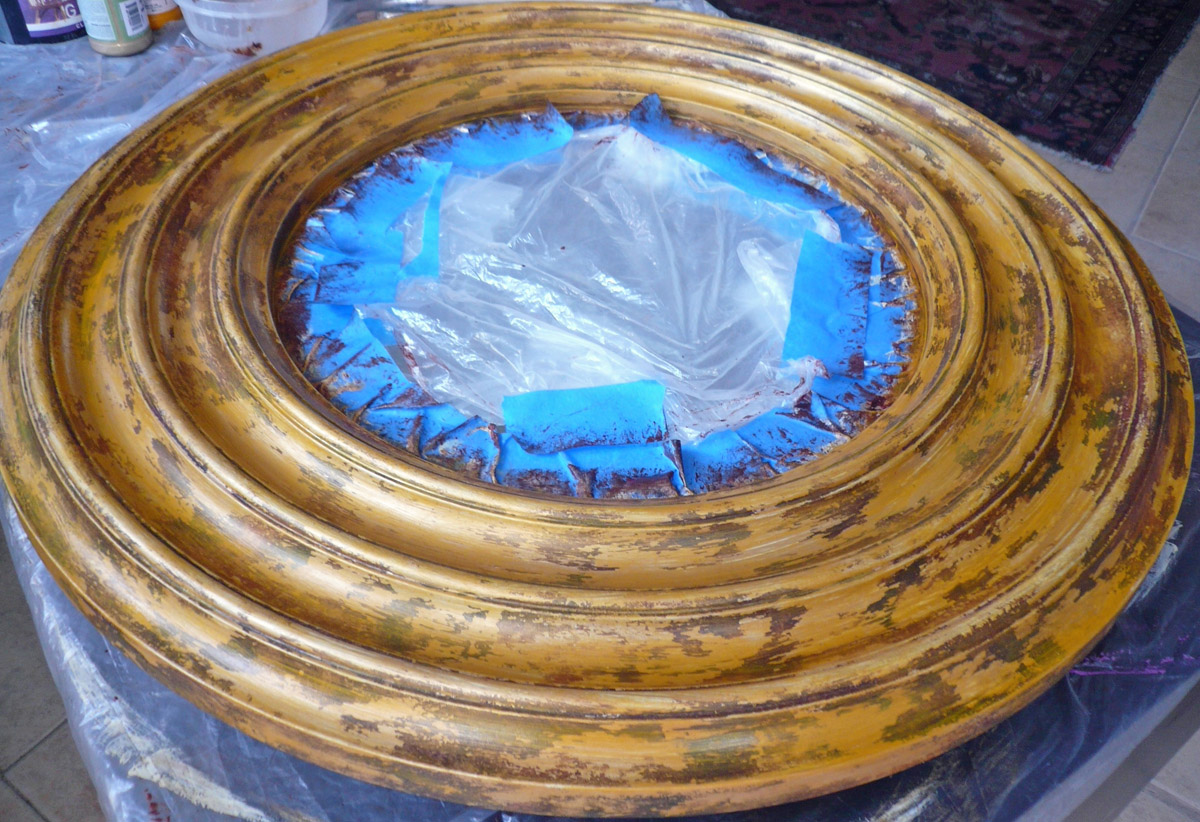
- Before coating the frame with glaze, place a little bit of Raw Sienna, Burnt Sienna, Burnt Umber, and black into separate containers. Each heap of color should be slightly diluted with turpentine or mineral spirit. Their consistency must remain creamy. Afterwards, dilute oil glaze with kerosene or mineral spirit and fine linseed oil. Coat your project with this glaze. With a small artist brush, sit a dab of Burnt Sienna sparingly, in a random pattern, following the model of tortoise shell that you want to imitate. Leave many areas untouched.
It is important to let the bright gold show through. You do not want a muddy finish; it should look neat and clear, although a little blurred.
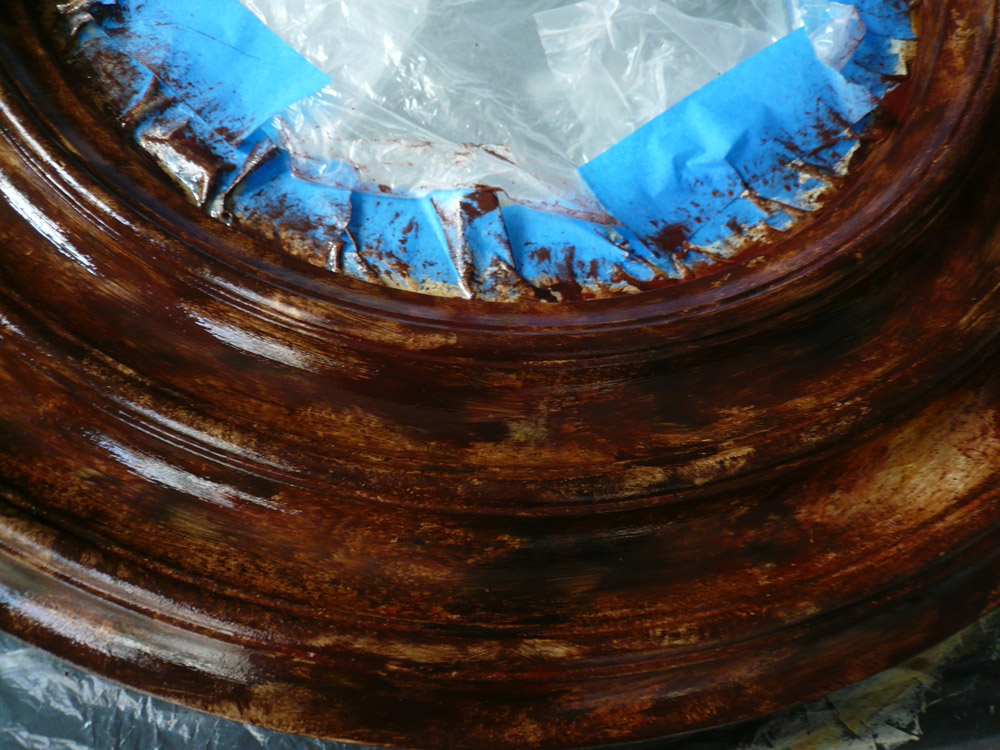
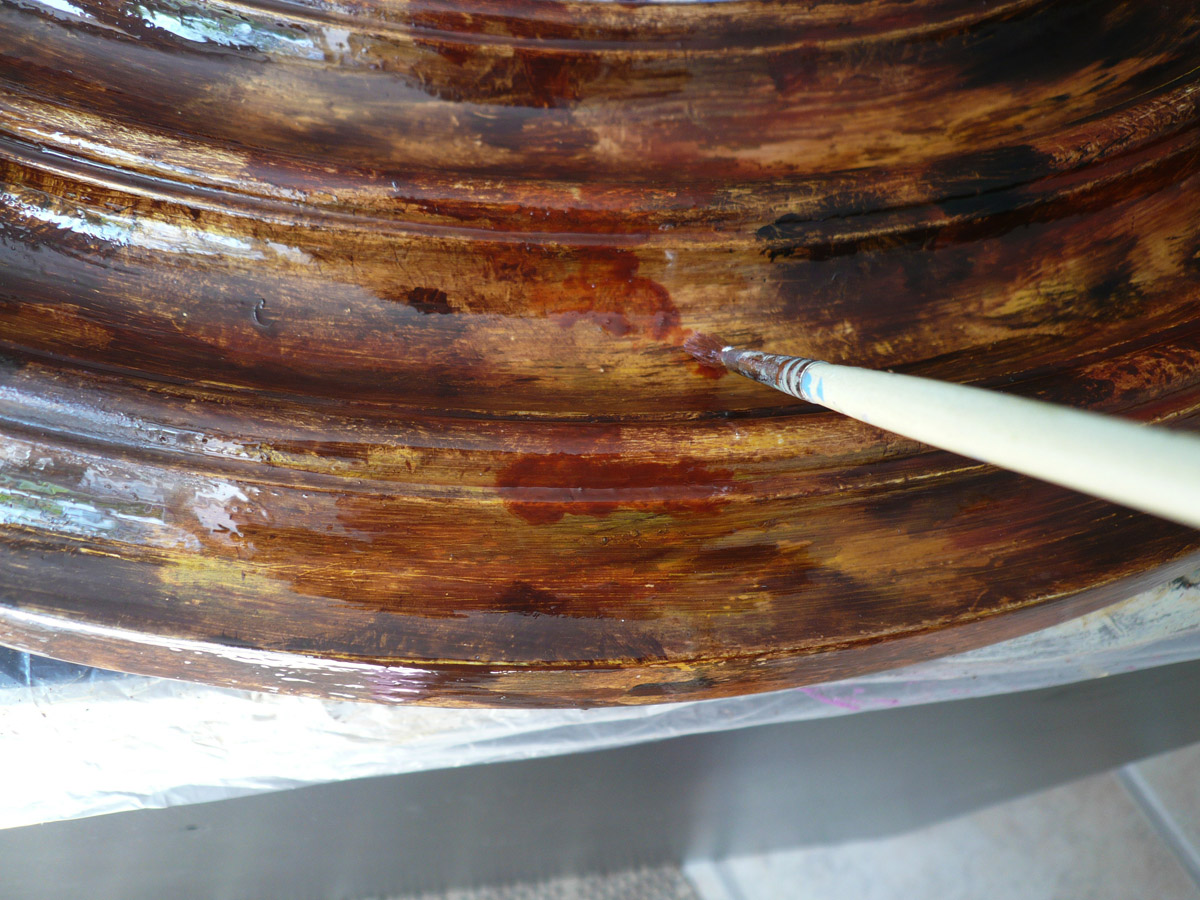
Add fewer patches of Burnt Sienna and Burnt Umber, next to the Raw Sienna. Hold your badger vertically and hit the Raw Umber with it, then gently hit virgin spots on the surface to” walk” the dark tint in tiny flecks. Clean and wipe your badger and soften the surface with it, very gently, in one diagonal direction. Clean it again and repeat the softening part if necessary. You may need to add more of this tint, or some black. If you went overboard with the colors and they conceal the background, with a clean rag wipe some small areas, add more glaze, and rectify the pattern.
Depending on your result, you may want to wait one day and repeat the glaze application, followed by more of the same or different colors.
It usually takes three coats of glaze, or three days, to reach the desired effect. If you concentrate the entire applications on one day, you will obtain a glaucous look, unless you opted for a sparse spotted finish. Similarly, if you are satisfied with the results of the first round applications, you may want to wait one extra day just to add the tiny dark flecks that will not disappear a midst the other colors as you badger the surface.
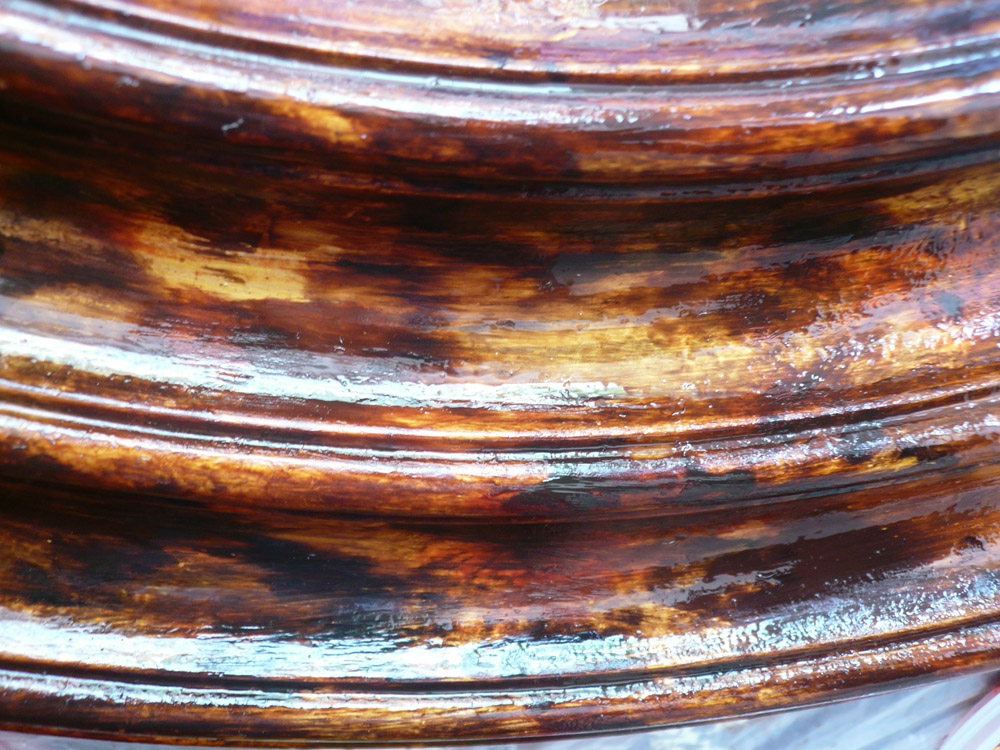
It is always best to isolate each layer, and not to rush. Each dried layer has to been sanded with very fine steel wool or 400 sand paper. When you are ready to varnish, use a semi or high gloss varnish to enhance the various colors of your work.
Use an oil-based varnish of very good quality, in spray or from a can. If you have applied a latex or acrylic paint, you may use a latex varnish to seal your work. A minimum of two coats of varnish will be necessary. Again, rub the piece with steel wool between each coat.
Enjoy your chef d’oeuvre!


