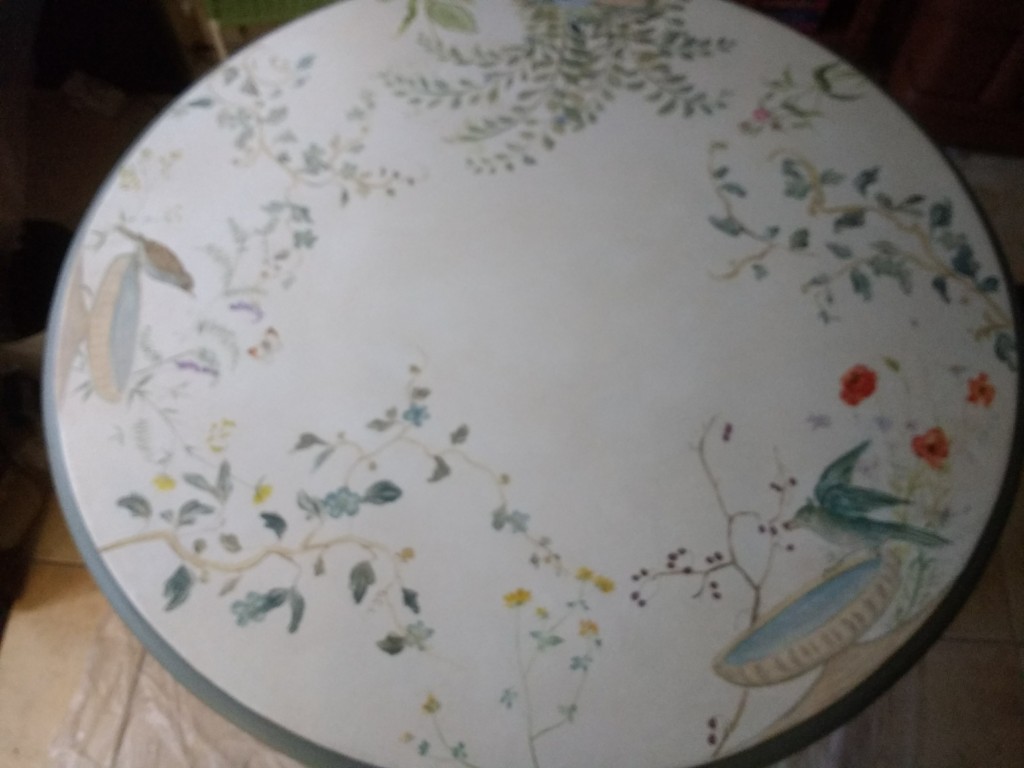
There is nothing more rewarding than revamping a piece of furniture covered by a drab, outdated, and damaged painted décor, especially when you can already envision its new appearance.
It is also pleasing to give a solid piece of furniture a second life, instead of contributing further to our world’s growing trash problem.
I started by removing the layers of paint on this table with paint remover and a spatula, then I sanded its surface.
I applied a little bit of compound to even up the surface, sanded it again, and laid one coat of primer followed by two basecoats.
I drew the design freehand and started painting the main lines. I then developed the pattern adding details and colors.
I used off white as a base color, followed by bronze and blue/grey/green for accents, to lighten up the shape of the furniture. One single color all over the table would make it too stocky: you need the accents to “sculpt” the furniture.
Once the décor was completed, I lightly sanded it to soften its lines and applied 4 layers of acrylic varnish to protect its surface.


